It is the Pinterest era, a Do-It-Yourself world and I’ve decided to jump right in. I love the idea of DIY projects but have always been a little too shy and lacking in confidence do it, until now. I am moving in less than a month and don’t want to bring anything with me that won’t fit into my brightly-colored nerd-chic decor. My brown, worn, falling apart dresser with the “Where The Heck is Walldrug?” bumpersticker slapped across a drawer just wasn’t going to cut it.
So I decided to delve into Pinterest, do a little research on painting wood, and get at it.
Materials I used:
3 medium grain sanding blocks ($8)
1 can Rust-Oleum Pure Gold Spray Paint ($7)
2.5 cans Rust-Oleum Satin Lagoon General Purpose Spray Paint (3.50 each)
1 Roll .94 inch Painters Tape ($3)
1 Roll 1.41 inch Painters Tape ($4)
8 bronze flower knobs ($1.30 each)
Total Project Cost: $43
Approximate Project Time: I spent about a week on this project, to allow for drying times. I did coats of two separate colors and there is a minimum of 48 hours between colors, so this could be accomplished in a long weekend.
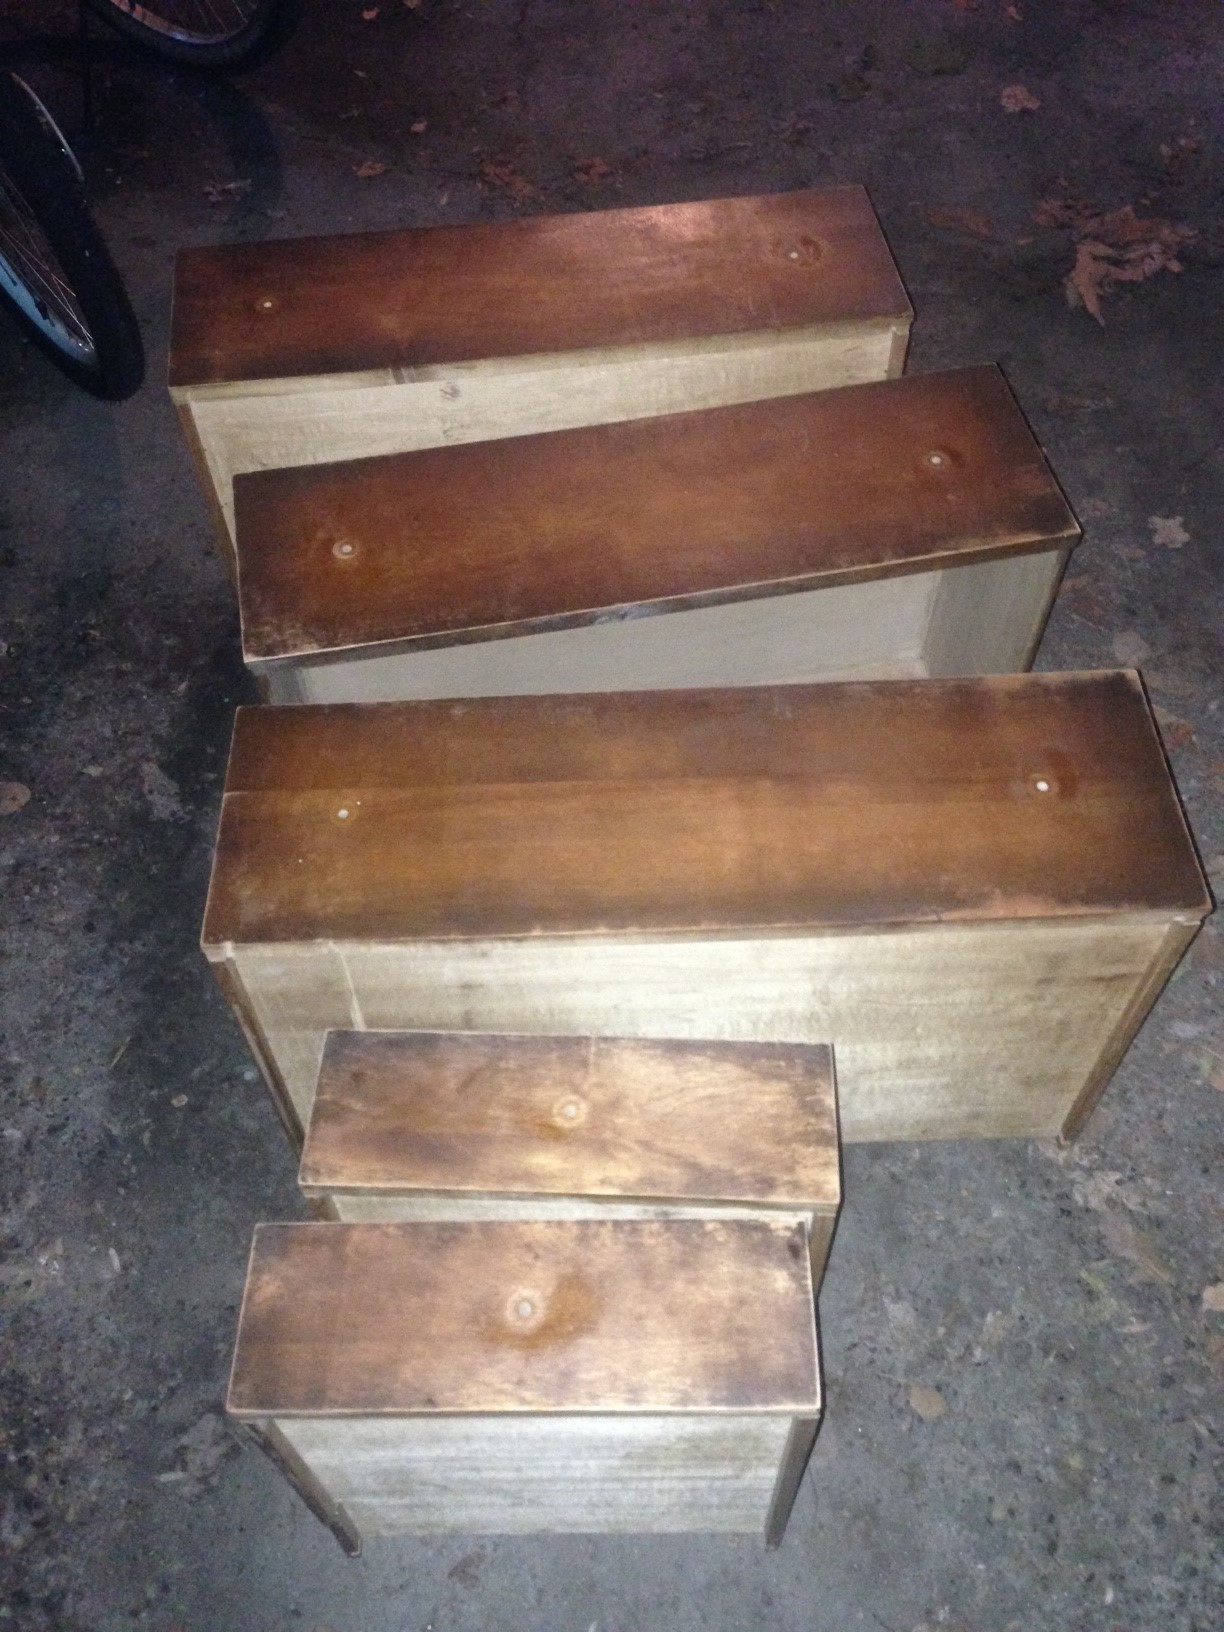
Here is what I started with:


I didn’t realize I was going to write a blog post about this project until after I had hauled the drawers to the basement and removed the aforementioned bumper sticker. But this still gives you an idea of what I was dealing with. There are dark edges on the drawers and on the top corners of the dressers. The edges of the dressers surfaces where also like this. They were coated in some sort of bubbly substance. I think the person who owned this before me tried to refinish it and used the wrong materials or applied the coating wrong.
Step One: Remove The Hardware
This step should be easy. After removing the drawers from the dresser, take a screwdriver and remove the handles. If you plan on reusing your hardware (or painting them too!) put them in a baggie with the screws and set aside.
You can see in my picture that one of my drawer handles is broken off. I decided to replace the hardware with some fun flower shaped knobs I picked up at Home Depot for about $1.30 each.
Step Two: Sand
In my opinion, this is the most labor intensive step, especially if you are going for a completely smooth finish. My dresser is really old and has a lot of cracks and distress line. I decided to sand it just enough that it would be smooth to the touch. This did cause some bubbling and unevenness to the paint later on, but I knew that would happen and had made peace with it.
I didn’t take a picture of the sanded dresser, but it looked very similar to these drawers. You can see that the edges are still quite a bit darker than the rest, but the whole thing is lighter overall. I got the first layer of finish removed and all of the weird bubbly texture.
Something to remember when sanding, is that it’s not about might. Part of the reason I use the sanding blocks is they are very easy to use. Put on a glove, place the block on the surface, apply comfortable pressure, and move the block back and forth over the surface. You may have to apply more pressure to tricky areas or where there is water damage or some sort of build up. But generally this should not be a tiring task. Sanding the drawers and the dresser took me about 2 hours.
Step 3: Wipe Down Furniture
Step 3 A: Wipe down all surfaces with a dry clothe to remove sanding dust
Step 3 B: Before painting, wipe down surfaces with a slightly damp clothe to remove any excess dust or debris. I also run my hand across the surface to make sure I don’t feel any dirt.
Step 4: Prepare Work Area
Because my drawers are going to need to dry for 48 hours and I live in a humid and wet environment, I decided to paint in the garage instead of on the grass. I simply laid down a large old sheet to use to protect the garage floor. I also didn’t sweep the garage, which ended up being a lifesaver. The paint that did land outside of my sheet’s range fell on the dust leaves and not on the concrete. I was simply able to sweep away those areas, voila, no stained floor.
Step 5: Paint The Drawers!
I did a lot of research on how to spray paint wood and the general consensus was that spray painting wood looks blotchy unless to start spraying off the surface, move the can over the surface while maintaining pressure, and then not stopping until you are over the other edge. This was part of the reason the sheet was of vital importance, because I started and ended every stroke with the paint pointed at the floor. You want to make sure each new line slightly overlaps the line before it. I went back and forth, left to right to left. I didn’t count hope many times I sprayed but it was many. You want to do lots of lighter coats in layers instead of one thick coat, for optimal coverage.

The gold came out pretty even. There is a little bit of splotchiness but I think for my first ever spray painting job, it came out pretty well.
A word of warning: If you look at the bottom of the bottom drawer, you can see some darker drip marks. My spray can was dripping and I didn’t notice it. I fixed the problem and sprayed over it several times, but the marks wouldn’t go away. Make sure you’re shaking your can for a solid minute prior to painting and frequently shake while working. If you will be holding the can sideways and spraying from above like I did, wrap the can in an old work towel to catch any drips.
Step 5: Let It Dry (Let it drrrry! I am one with the wind and skyyyyy!)
Rust-Oleum paint suggests that the paint is dry to the touch in 30 minutes, the item is manageable in a hour, the paint is fully dry in 24 hours, but you shouldn’t paint again for 48. So I had to day to wait before I could finish the drawers. In the meantime I painted the dresser.
Step 6: Paint The Dresser
I am a bad blogger and I didn’t take a picture of the dresser completed without the drawers finished.
In the time I had to wait for the drawers to dry, I painted the dresser with my Satin Lagoon (dark teal) color. I decided to be lazy and do this in one go, spraying the sides, top, and legs of dresser all at once. This was a mistep and I suggest against it. What you should do is lay the dresser on its side and spray paint from the top as a described above, let it dry for one hour, and then turn it over and do the next side, etc.
What happened is lots of dripping. I was able to wad up most of the drips and then lightly spray over it to make the paint smooth, but on one side of the dresser I missed a huge dripping area near the bottom. Those drips are now dried there and the only way to fix it would be to chip them off and paint again. No es bueno.
While the dresser is drying and once the drawers are dry, move on to the next step.
Step 7: Tape The Drawers To Create Desired Pattern

I used the cheapest painters tape I could find at Home Depot, and it worked beautifully, so don’t worry about shelling out a fortune on tape.
So for my little drawers I wanted an outline around the edge and I used the .94 inch tape for that.
For the larger drawers I used the 1.41 inch tape. At first I was also only going to outline them but I decided that wouldn’t be enough of the gold color and decided to go with this crisscross idea I was on Pinterest. (A link to the article here.) But here’s the kicker… I didn’t measure. I just kind of winged it on all three of the bigger drawers, trying to make it line up as much as possible. A more mathematically skilled person, or a perfectionist, would probably measure. I think it turned out all right.
Some tips on taping: If you are going to crisscrossing tape in any way, make sure you press down the edges where they meet really well. I learned the lesson on the small drawers. I didn’t take extra care to press down the corners where the tapes met and the second coat of paint bled through in these areas.
Also, when you’re putting tape around the edges, make sure none of the edge is visible. In a few spots on the above picture you can see I added extra tape around the edges to assure I didn’t get the new paint on the visible edges.
Step 8: Paint The Drawers Again
Using the same technique as before, repaint the drawers. As long as your tape is secure, you should be able to go over it without it leaking into the first color.
My drawers covered in the 2nd color:

You can see that the entire thing is covered because I use the same method of starting to spray on the left side of the drawer and then not releasing pressure until I was over the right edge.
Step 9: Let It Dry & Remove The Tape
Let the drawers dry until they are at the “manageable” step, about 1 hour, and then pull off the tape. You don’t want to do this too early because the paint could spread into the first color. You don’t want to do this too late so the tape doesn’t try to pull up the new color. Start from one end and pull up and back, keeping the painted tape away from the drawer’s surface. Discard and enjoy your pretty pattern.

Step 10: Let The Drawers Finish Drying And Add Hardware
Let the drawers dry another 24 hours and then either reattach the hardware you’ve put aside or attach your new hardware.

In the picture above, you can see on the smaller drawer where the paint leaked at the corners.
Step 11: Replace Drawers and Presto!
Once everything is dry, put your drawers back in and there you have it, a completely redesigned dresser!

My camera kept distorting the actual color of the dresser (teal/gold instead of blue/gold) so I added an instagram filter to get it as close to the actual coloring as I could.
I’m really proud of what I was able to do, especially since it’s my first ever upcycle and my first time painting wood. Despite the minor flaws, I am really happy with the outcome.
Before and After

